


How to Fix a Leaky Bathtub Faucet
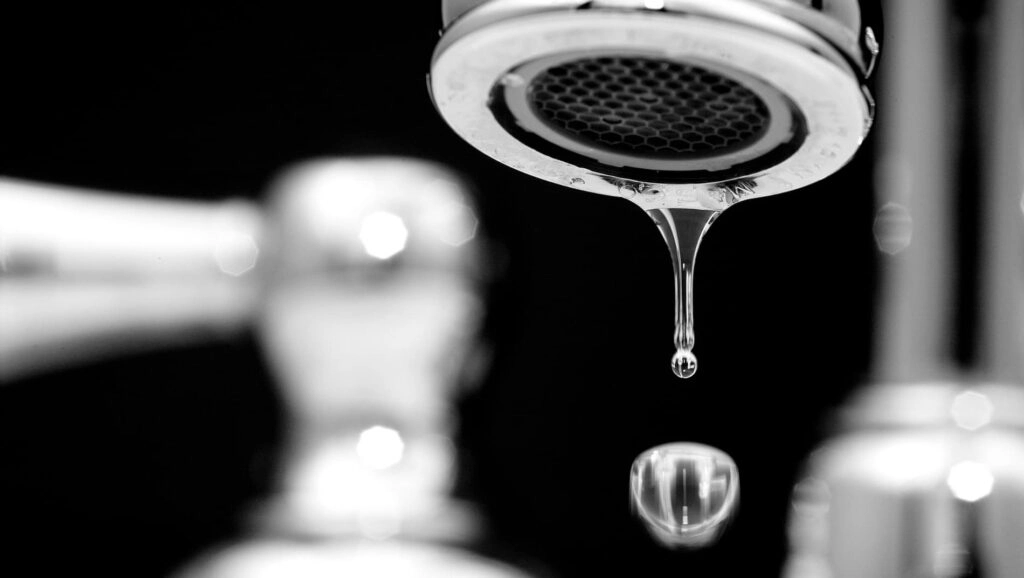
That continuous drip... drip... drip from your bathtub faucet is not just annoying but can also waste water, increase your monthly utility bill, leave stubborn mineral stains, and eventually result in costly plumbing repairs.
Luckily, most leaky bathtub faucets are due to inexpensive parts that wear out with time, such as an O-ring, rubber washer, or cartridge. With the right tools and a little patience, most homeowners can complete this repair by themselves within an hour.
Whether you are dealing with a bathroom tub faucet leak, a dripping tub spout, or searching the internet on how to fix a leaky bathtub faucet, this blog explains the cause of the problem, how to repair it safely, and when you should call a licensed plumber.
How Do You Know Your Bathtub Faucet Needs Repair?
Not every leak is a steady stream of water; most begin as an occasional drip, which is not easy to ignore, until your water bill increases or stains start to appear around the tub.
Here are the common warning signs:
- Your bathtub faucet drips continuously despite being turned off.
- Water leaks around the faucet handle while it is running.
- The handle feels stiff, loose, or difficult to turn.
- Rust or hard water stains appear beneath the faucet. Regular dripping sounds even when no one is using the bathroom.
- Water pressure changes unexpectedly.
- The faucet squeaks or grinds when operated.
Plumber's Tip: A slow drip may seem harmless, but with time, it can waste hundreds of gallons of water. Repairing the problem soon is less expensive than waiting until additional plumbing components start to fail.
Why Is Your Bathroom Tub Faucet Leaking?
It is important to know the reasons for a leaking faucet so that you can choose the correct replacement parts and avoid unnecessary repairs — the causes here overlap with what tends to cause faucet leaks throughout the rest of your home.
Every bathtub faucet contains internal seals that prevent pressurized water from flowing when the handle is turned off. After years of daily use, these components wear down, allowing water to seep through.
Here are the most common causes.
1. Worn Rubber Washer
If you have a traditional two-handle faucet, the rubber washer creates the seal that stops water flow. With time, repeated use causes the washer to crack, flatten, or harden, allowing water to drip from the bathtub spout even when both handles are tightly closed.
2. Damaged Cartridge
Most modern single-handle faucets use a cartridge instead of a washer. A cracked cartridge or worn internal seals allow water to bypass the shut-off mechanism. This often leads the faucet to drip continuously or makes the handle difficult to adjust.
3. Worn O-Ring
O-rings seal the movable parts within the faucet. As they age, they grow brittle or cracked, thus allowing the water to escape around the handle.
4. A Damaged Valve Seat
The valve seat mainly connects the faucet to the plumbing of your home. Mineral deposits from hard water gradually roughen its surface, thus preventing new washers or cartridges from creating a proper seal. As a result, the faucet may continue dripping even after you've replaced the cartridge.
| Fix Your Leaky Bathtub Today - Call (916) 455-4548 |
Identify Your Faucet Before Buying Parts
One of the biggest mistakes homeowners make is buying replacement parts before identifying their faucet type. Different faucets use different repair components.
| Faucet Type | Most Common Repair |
| Compression Faucet (Two Handles) | Replace washer |
| Cartridge Faucet (Single Handle) | Replace cartridge |
| Ball Faucet | Replace seals and springs |
| Ceramic Disc Faucet | Replace the ceramic cartridge |
Pro Tip: Remove the old cartridge or valve stem and take it to the hardware store. Matching the original part is usually much more reliable than identifying it from memory.
Gather Your Tools Before You Start
Having the right tools in hand makes the repair smoother and helps prevent damage to your faucet.
Important Tools
- Phillips screwdriver
- Adjustable wrench
- Allen (Hex) wrench
- Channel-lock pliers
- Cartridge puller (recommended for stuck cartridges)
- Flashlight
- Small towel
- Flathead screwdriver
Replacement Materials
- White vinegar for removing mineral deposits
- Matching cartridge or washer kit
- O-rings
- Plumber's silicone grease
- Thread seal tape
- Soft cleaning cloth
How to Fix a Leaky Bathtub Faucet: Step-by-Step Guide
Step 1. Shut Off the Water Supply
The first and most important step is turning off the water supply.
If your bathtub has dedicated shut-off valves, close them completely. Otherwise, shut off your home's main water supply.
Once the water is off, open the bathtub faucet and allow any remaining water to drain. It's important to confirm that water has stopped flowing before beginning the repair.
Skipping this step can cause the water from the valve body to spray out as soon as it's opened. This creates a mess and increases the risk of water damage.
Step 2. Remove the Faucet Handle
Slowly pry off the decorative cap that is covering the handle screw. Remove the screw using a screwdriver or Allen key, and pull the handle straight toward you.
If the handle feels stuck, do not force it. Instead, gently wiggle it back and forth by applying a small amount of penetrating lubricant before trying again.
Once the handle is removed, you will gain access to the internal valve components, where the actual repair occurs.
Step 3. Remove the Trim Plate and Cartridge
A decorative trim plate, also called the escutcheon, is exposed once the handle is removed. Carefully remove that trim plate to expose the valve assembly.
According to your faucet, you will either find a retaining nut, bonnet nut, or retaining clip holding the cartridge or valve stem in place.
- Loosen the retaining nut with the help of an adjustable wrench.
- If your faucet uses a retaining clip, remove it carefully with needle-nose pliers.
- Pull the cartridge or valve stem straight out.
If it does not move easily, do not twist or force it. A cartridge puller can safely remove stubborn cartridges without damaging the valve body.
Pro Tip: Before removing the cartridge, take a quick photo with your phone, which makes reassembly much easier and ensures the new cartridge is installed in the right position.
Step 4. Inspect and Replace the Worn Parts
Now examine the internal components carefully.
Look for flattened rubber washers, cracked O-rings, broken cartridge housing, corrosion, heavy mineral buildup, and worn seals.
If your faucet uses a cartridge, then replacing the entire cartridge is recommended instead of simply replacing individual seals.
For compression faucets, install a new washer and replace any worn O-rings at the same time. Since these parts are inexpensive, replacing them together helps prevent another repair in the near future.
Step 5. Clean the Valve Body
Mineral deposits and debris can prevent the new seals from sitting correctly, causing the faucet to continue leaking even after the repair.
Use white vinegar, an old toothbrush, and a clean cloth to remove mineral deposits and debris. If the valve seat appears deeply corroded or pitted, replacing the cartridge alone may not solve the problem.
Step 6. Reassemble and Test the Faucet
- Apply a thin layer of plumber's silicone grease to the new O-rings or cartridge seals before installation.
- Insert the new cartridge or valve stem.
- Tighten the retaining nut securely (avoid overtightening).
- Reinstall the trim plate.
- Reattach the faucet handle.
- Turn the water supply back on slowly.
- Run the faucet for a minute to remove trapped air, then turn it off and watch for several minutes.
If the dripping has stopped and no water appears around the handle or trim, your repair was successful.
Common Mistakes to Avoid
Most DIY faucet repairs fail due to simple mistakes such as:
- Buying the wrong replacement cartridge
- Overtightening of retaining nuts
- Installing the cartridge incorrectly
- Losing screws down the drain
- Skipping the plumber's grease
- Forcing the stuck components
- Forgetting to shut off the water supply
- Ignoring corrosion within the valve body
Taking a few extra minutes to double-check each step can help prevent unnecessary damage and save you from repeating the repair later.
When Should You Call a Professional Plumber?
While most homeowners can successfully repair a dripping faucet, some cases require professional expertise, such as:
- A leaking faucet despite replacement of the cartridge.
- Water is leaking behind the wall.
- A cracked valve body.
- The cartridge is completely seized.
- Your shut-off valve does not function.
- You notice damaged plumbing connections.
Quick Queries From Our Clients
1. Can hard water make a bathtub faucet start leaking faster?
Yes. Sacramento is known for having minerals in the water, and over time, these invisible minerals build up inside your plumbing. They create a rough, scratchy crust on the smooth metal surfaces. This crust acts like sandpaper, grinding against the soft rubber seals every single time you turn the handle. Eventually, it cuts right through them and causes a drip, which is why having a professional plumber flush your system can help prevent early leaks.
2. What happens if you tighten the faucet handle as hard as you can to stop a drip?
This is a huge trap that many homeowners fall into! Cranking the handle down with extra force might stop the water for a second, but it actually crushes the delicate rubber seals and plastic parts inside. This extra pressure ruins the new parts instantly and makes the leak even worse the next day. If the water doesn't stop with a normal, gentle turn, the internal parts are already broken, and a professional plumber needs to swap them out.
3. Why does the hot water side usually start leaking before the cold water side?
Heat is naturally tough on plumbing parts. The hot water traveling from your water heater causes the rubber washers and plastic cartridges to expand, soften, and weaken much faster than the cold water does. Because the material takes a beating from the high temperatures every day, the hot water handle is almost always the first one to start dripping.
| Need Plumbing Help in the Greater Sacramento Area - Call (916) 455-4548 |
Takeaway
Repairing a leaky bathtub faucet is one of the most practical DIY plumbing projects for most homeowners. In many cases, a simple replacement of a worn washer or cartridge is required to stop the drip, save water, and avoid costly utility bills.
You should take your time, use the right replacement parts, and follow each step carefully. If you face severe corrosion, a damaged valve body, or a leak behind the wall, do not continue forcing the repair. Calling a professional plumber early can help avoid unnecessary damage and save money in the long run.
Fix Your Leaky Bathtub Faucet Today with Ace Plumbing Heating & Air Conditioning
If you want a professional fix for your leaking bathroom tub faucet, Ace Plumbing, Heating & Air Conditioning is here to help.
We're proud to be a BBB-accredited plumbing company with an A+ rating. For more than 50 years, our professional plumbers have proudly served homeowners and businesses throughout the Sacramento area with dependable plumbing solutions and honest recommendations. We do not just fix the symptom, but also identify the main cause to retain your peace of mind in the future.
Don't let a small drip become an expensive plumbing repair. Call us today at (916) 455-4548 to schedule fast, reliable service from a team you can trust.